 processor-Intel
")
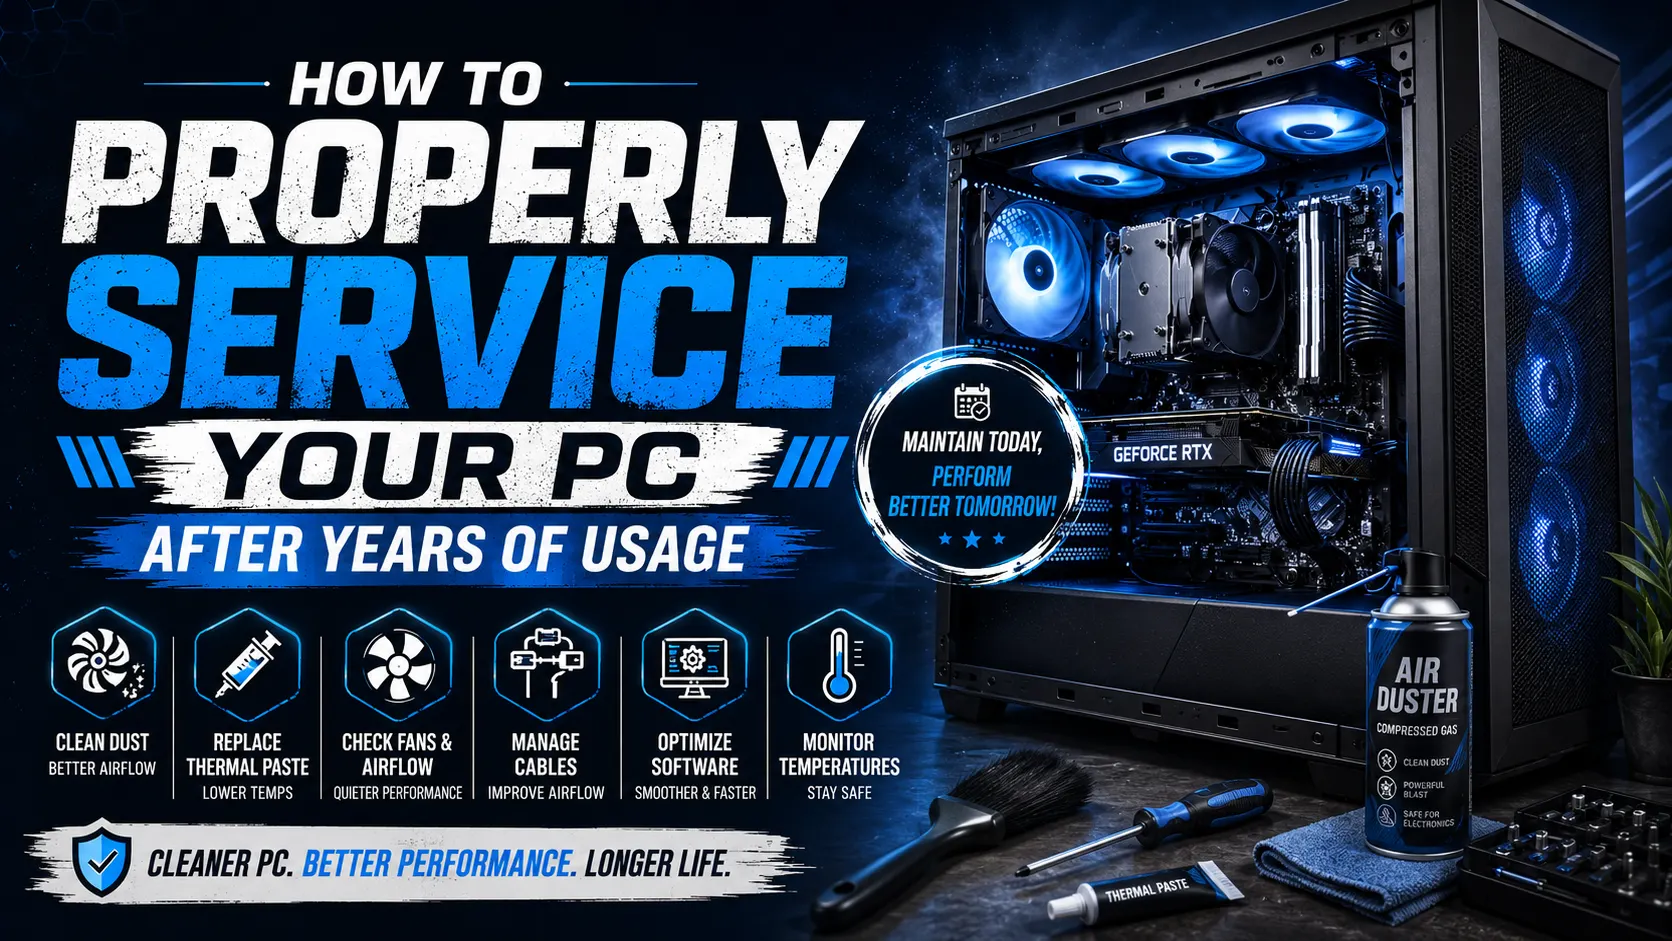
After years of gaming, editing, streaming, or everyday work, your PC slowly collects dust, heat buildup, and wear that can reduce performance and shorten component life. Many users notice higher temperatures, louder fans, random lag, or unexpected shutdowns — all signs that your system needs proper servicing.
Regular PC maintenance not only improves performance but also helps your expensive hardware last longer. In this guide, we’ll cover the safest and most effective way to service your PC after years of usage.
Why PC Servicing Is Important
Over time, your PC experiences:
- Dust accumulation inside fans and heatsinks
- Dried-out thermal paste on CPU/GPU
- Reduced airflow
- Slower boot times
- Higher temperatures
- Fan noise and vibrations
- Possible hardware instability
A properly serviced PC can:
- Lower temperatures significantly
- Improve gaming FPS stability
- Reduce fan noise
- Increase hardware lifespan
- Prevent overheating damage
Things You’ll Need
Before opening your PC, prepare these tools:
- Microfiber cloth
- Soft paintbrush or anti-static brush
- Compressed air blower
- Isopropyl alcohol (90%+ preferred)
- Thermal paste
- Screwdriver set
- Zip ties for cable management
Optional:
- Anti-static wrist strap
- Vacuum blower designed for electronics
Step 1: Turn Off & Disconnect Everything
Safety comes first.
- Shut down your PC completely
- Turn off the PSU switch
- Remove the power cable
- Disconnect all peripherals
- Hold the power button for 5–10 seconds to discharge remaining electricity
Now place the PC on a clean table with good lighting.
Step 2: Open the Cabinet Carefully
Remove the side panels gently and inspect the inside.
After years of usage, you’ll usually find:
- Thick dust layers
- Clogged fans
- Dirty filters
- Loose cables
Take a quick photo before disassembling anything. It helps during reassembly.
Step 3: Clean Dust Properly
Dust is the biggest enemy of airflow and cooling.
Best Cleaning Method
- Use compressed air to blow dust out
- Hold fans while cleaning so they don’t spin excessively
- Use a soft brush for stubborn dirt
- Wipe panels with a microfiber cloth
Focus on:
- CPU cooler
- GPU fans
- Cabinet fans
- PSU vents
- Dust filters
- Radiators (for liquid cooling)
Avoid:
- Using water
- Using household vacuum cleaners directly on components
- Touching motherboard circuits unnecessarily
Step 4: Replace Old Thermal Paste
Thermal paste dries out after years of heat cycles.
If your CPU temperatures are unusually high, replacing thermal paste can make a huge difference.
How to Replace It
- Remove the CPU cooler
- Clean old paste using isopropyl alcohol
- Apply a small pea-sized amount of new thermal paste
- Reinstall the cooler evenly
You can also repaste the GPU if you’re experienced, but beginners should avoid opening graphics cards unless necessary.
Step 5: Check Fans & Airflow
Inspect all fans carefully.
Look for:
- Grinding noises
- Slow spinning
- Wobbling
- Broken RGB lighting
If a fan is failing, replace it immediately.
Ideal Airflow Setup
- Front fans → Intake
- Top & rear fans → Exhaust
Good airflow keeps temperatures lower during gaming and rendering workloads.
Step 6: Organize Cable Management
After years of upgrades, many PCs become messy internally.
Use zip ties to:
- Improve airflow
- Make the build cleaner
- Reduce dust blockage
- Simplify future upgrades
A cleaner PC is also easier to maintain.
Step 7: Clean Software & Storage
Hardware servicing should also include software cleanup.
Recommended Tasks
- Delete temporary files
- Uninstall unused software
- Update GPU drivers
- Update Windows
- Scan for malware
- Optimize startup apps
Also check your storage health using tools like:
- CrystalDiskInfo
- HWMonitor
- MSI Afterburner
Step 8: Monitor Temperatures After Servicing
After reassembling the PC:
- Boot the system
- Check fan operation
- Monitor CPU & GPU temperatures
Typical healthy temperatures:
- CPU idle: 35–50°C
- GPU idle: 30–45°C
- Gaming load: 65–85°C
If temperatures remain high, check:
- Cooler mounting
- Airflow direction
- Thermal paste application
Common Mistakes to Avoid
❌ Using too much thermal paste
❌ Cleaning components with water
❌ Spinning fans aggressively with air blowers
❌ Forgetting to reconnect fan headers
❌ Using cheap low-quality thermal paste
❌ Ignoring PSU dust buildup
How Often Should You Service Your PC?
Recommended Schedule
- Basic dust cleaning → Every 3–6 months
- Deep cleaning → Every 1 year
- Thermal paste replacement → Every 2–3 years
If you live in a dusty environment or own pets, servicing may be needed more frequently.
Final Thoughts
Your PC is a long-term investment, and regular servicing keeps it running like new even after years of heavy usage. A clean and properly maintained system delivers better temperatures, smoother gaming, quieter performance, and improved reliability.
Whether you own a high-end gaming rig or a workstation PC, spending a little time on maintenance can save you from expensive repairs later.
Treat your PC well, and it’ll continue delivering top-tier performance for years to come.