 processor-Intel
")
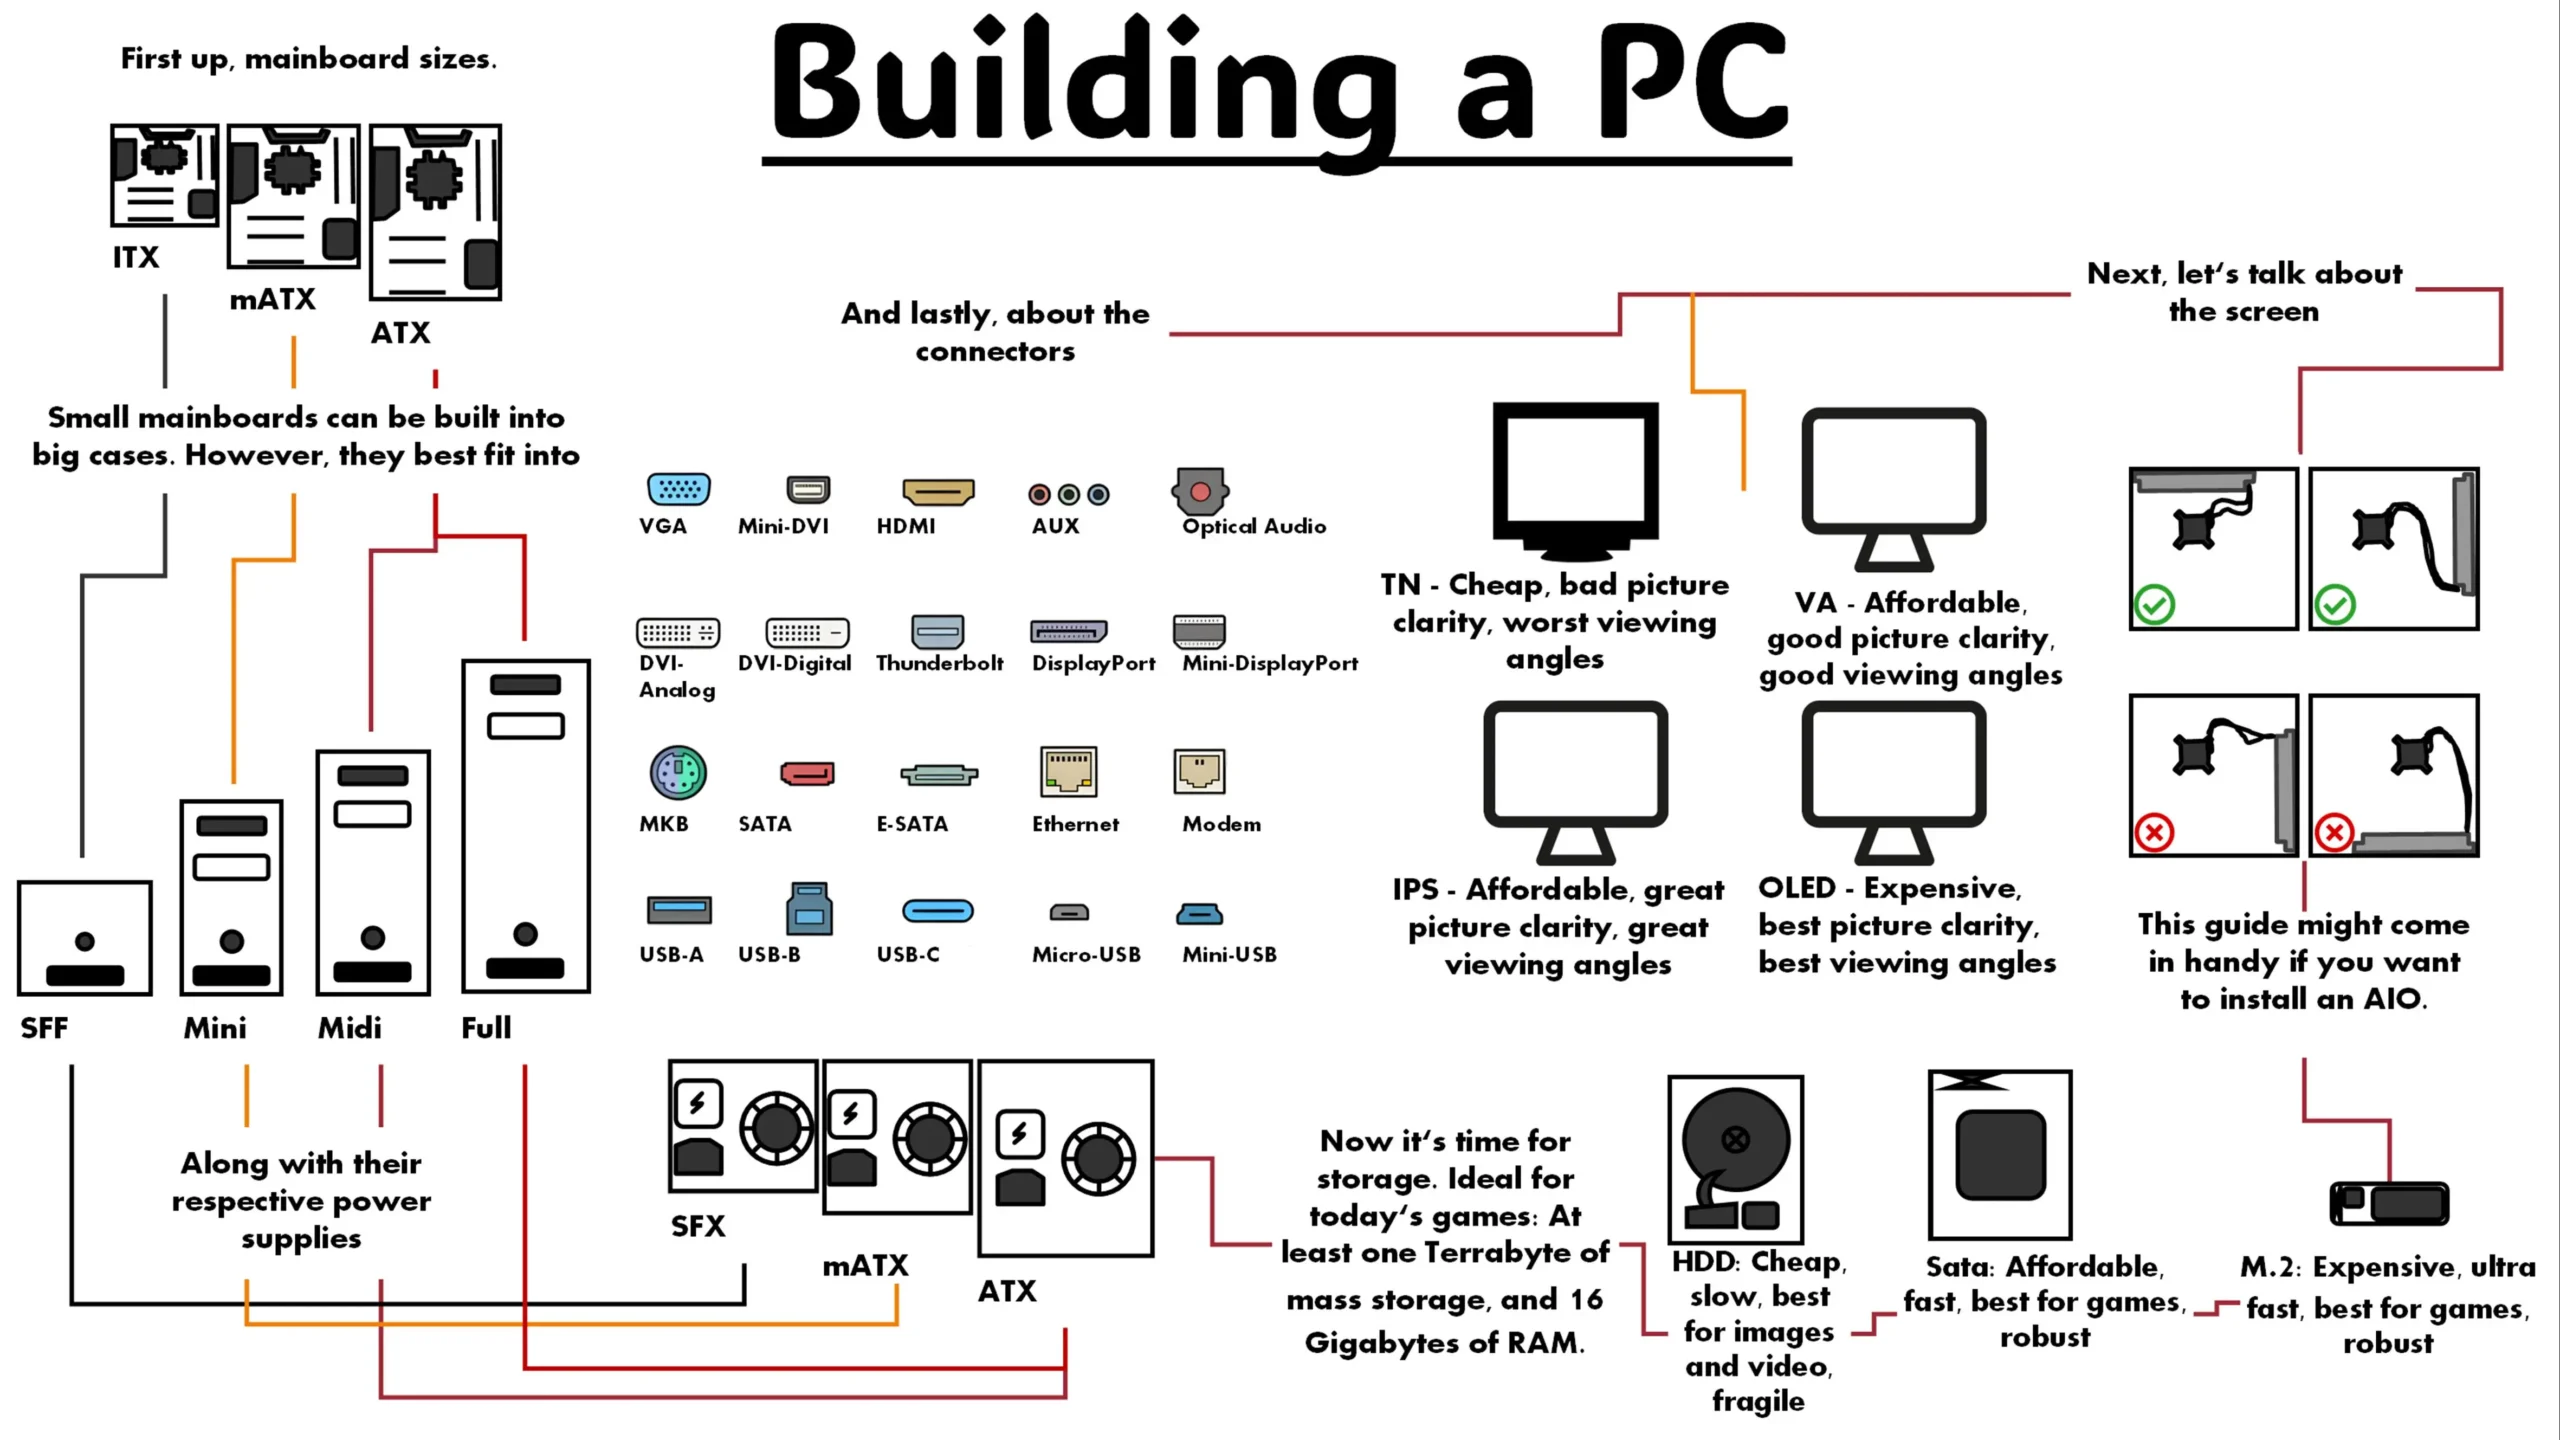
Table of Contents
- Introduction
- Why build a custom PC?
- Essential Tools and Components needed to build a PC
- How to build a Custom PC step by step
- First Boot and BIOS Setup
- Tips for a Smooth Build
- FAQs regarding building a custom PC for beginners
Is building a high-end computer something you are dreaming of, but you just don’t know where to start? This beginner’s guide to building a custom PC will help you build your first PC. Whether you want to game, edit or simply enjoy the satisfaction of creating your own computer, with the right tools, building a custom PC for beginners is easier now than it has ever been. With the right help and proper tools, you’ll have high-end performance hardware built just for you!
Why build a Custom PC?
When you build your own system, you have complete control over it. Right from choosing what components you want that suit your needs, to customizing the look and the functionality of your PC. Getting better performance-per-rupee, easy and straightforward upgrades and the satisfaction of completing a personal project are some of the reasons why people prefer to build their own custom PC. This custom PC build guide for beginners will clear all your doubts and will help you build your first PC.
Essential Tools and Components needed to build a PC
Before you begin your step-by-step custom PC build in 2025, make sure that you have gathered the necessary parts and tools:
The parts that you will need are:
- CPU (Processor)
- Motherboard
- RAM (Memory)
- GPU (Graphics Card)
- SSD or HDD (Storage)
- Power Supply
- Case
- CPU Cooler
The tools that you will require are:
- A screwdriver
- A bowl of screws
- Thermal paste (may come with CPU cooler)
How to build a Custom PC step by step
Step 1: Prepare and Unpack
Unpack all the items. Work in a clean, static-free environment. Refer to the manuals of your motherboard and case. Layout the parts in the order you will be using them.
Step 2: Install the CPU, Cooler and RAM
Open the socket on the motherboard, and then carefully align the CPU with the triangle marks and lock it in. Apply a small amount of thermal paste on the CPU and then install the cooling fans as instructed in the manual. After the cooling system, insert the RAM sticks into the allotted slots. Refer to the motherboard manual for proper instructions.
Step 3: Prepare the Case and install the Motherboard
First, remove both the side panels gently from the case. If the motherboard standoffs don’t come pre-installed in the case, then install them. Now gently lay your motherboard into your case, making sure it aligns with the standoffs and I/O shield and then screw it down
Step 4: Add Storage, GPU and Power Supply
Install your SSD or HDD into their respective slots and connect them to the motherboard. Slide the GPU into the top PCle slot and secure it properly. Install the power supply (PSU) into its compartment ensuring that the fan faces the right direction.
Step 5: Cable Management and Final Checks
Connect all the data and power cables: 24-pin ATX, CPU power, SaTA, PCle, front panel, USB and the audio headers. Organize the cables by using zip ties or velcro which improves airflow and makes it look nice. Take one last inspection and verify all the cable connections before closing the case.
First Boot and BIOS Setup
Connect your monitor, keyboard and mouse. Turn on the system and if everything works properly, you should see the logo screen. Enter BIOS by pressing the F2 button and make sure that all the parts are recognized and set initial settings, like enabling XMP for RAM and choosing the correct boot drive.
Tips for a Smooth Build
- Keep all the manuals handy. Not all motherboards and cases are the same
- Take your time and don’t rush. Rushing will lead to damaging the parts.
- Don’t force any part. If it won’t fit in the place, double-check the alignment
- If you are a visual learner, watch a few videos. ‘How to build your own PC for beginners’, is a good search for tutorials
- Build your PC in such a way that it will be easier to upgrade any of your components in the future with ease.
Finally….
For beginners, building a custom PC is a fulfilling and powerful experience. With proper planning and time management, you can have a powerful computer with a configuration that matches your lifestyle perfectly. Use this beginner’s guide to build a custom PC as a blueprint and soon enough, you will be able to game, edit and just have fun on a machine that you built all by yourself.
FAQs regarding building a custom PC for beginners
1) Is building a custom PC for a beginner risky?
The answer is no! With basic tools and patience, even complete novices will be successful. Follow this custom PC build guide for beginners and don’t hesitate to reach out for help.
2) What do I do if my PC doesn’t turn on?
Re-check your cables, RAM/computer memory, and power connections first. If you buy a PSU, make sure to check that it is switched on and plugged in properly.
3) How do I install Windows or another OS on a PC after building?
If you have your OS on a USB flash drive, insert it and follow the instructions for installation.
4) Can I build a custom PC with no graphics card?
Yes if your processor has integrated graphics and you plan to game or edit video later.
5) What is the most common mistake in a step-by-step custom PC build in 2025?
Forgetting or not properly seating RAM or CPU, forgetting the motherboard standoffs, and/or forgetting power cables, forgetting to apply thermal paste, not removing CPU Cooler contact plate plastic before installing are common mistakes, double check before your first boot!